Headband Holder Tutorial
Today I'm going to share a headband holder that I made for my sister for her birthday. My mom gave me the idea and it was actually pretty easy. First, I asked my sister what kind of color scheme she would like and then I headed to Jo Ann's Fabric Store.
Feel free to use Amazon my affiliate link here: {I am an amazon affiliate which means if you purchase anything from my lists, I will get a tiny portion back. I only include things I personally have purchased and love!!!}
Supplies:
- Neck roll pillow form
- 1 1/2 yard fabric
- Ribbon
- Thread that matches the ribbon
- Magnetic snaps (I found purple to match)
- Two big buttons that match your ribbon
I started by wrapping the fabric around the pillow roll to get the size that I needed and then I cut and began pinning. Knowing that I wanted to pull the two ends together once I was done I began by sewing a 1/4" turn hem on the two ends that would hang off of the pillow leaving enough room that I could thread string through.
Once I had both ends sewn, I prepped the string that I wanted to thread through the tunnels I just made. As you can see I attached the string to a small safety pin and then began pushing the safety pin all the way through on both ends.
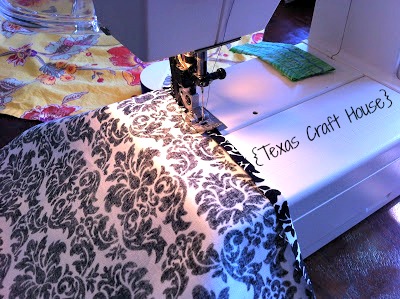
Once I had the string through on both sides I sewed the two right sides together along the full length of the fabric and then turned the tube right side out.
Once I turned the tube right side out I pulled it over the pillow form. I made sure the pillow form was in the center of the tube, this allowed for the extra fabric to hang evenly on both ends of the pillow. Then I went to each end of the pillow form and pulled the strings tight at each end so it looked like this.
Once I finished both ends, I cut the ribbon to size and I began trying to attach the ribbon. I wanted to use the fasteners on both sides of the ends, but found out there was no way for me to attach the faster to the middle of the end because of the way the fabric bunched at each end, so I nixed that idea and never used the fasteners. I just hand sewed the ribbon onto each end of the roll like pictured below.
Once I had the ribbon attached to both ends I began attaching the purple buttons to each end for an accent.
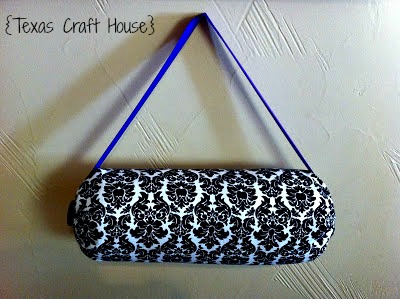
And here is the finished headband holder!


