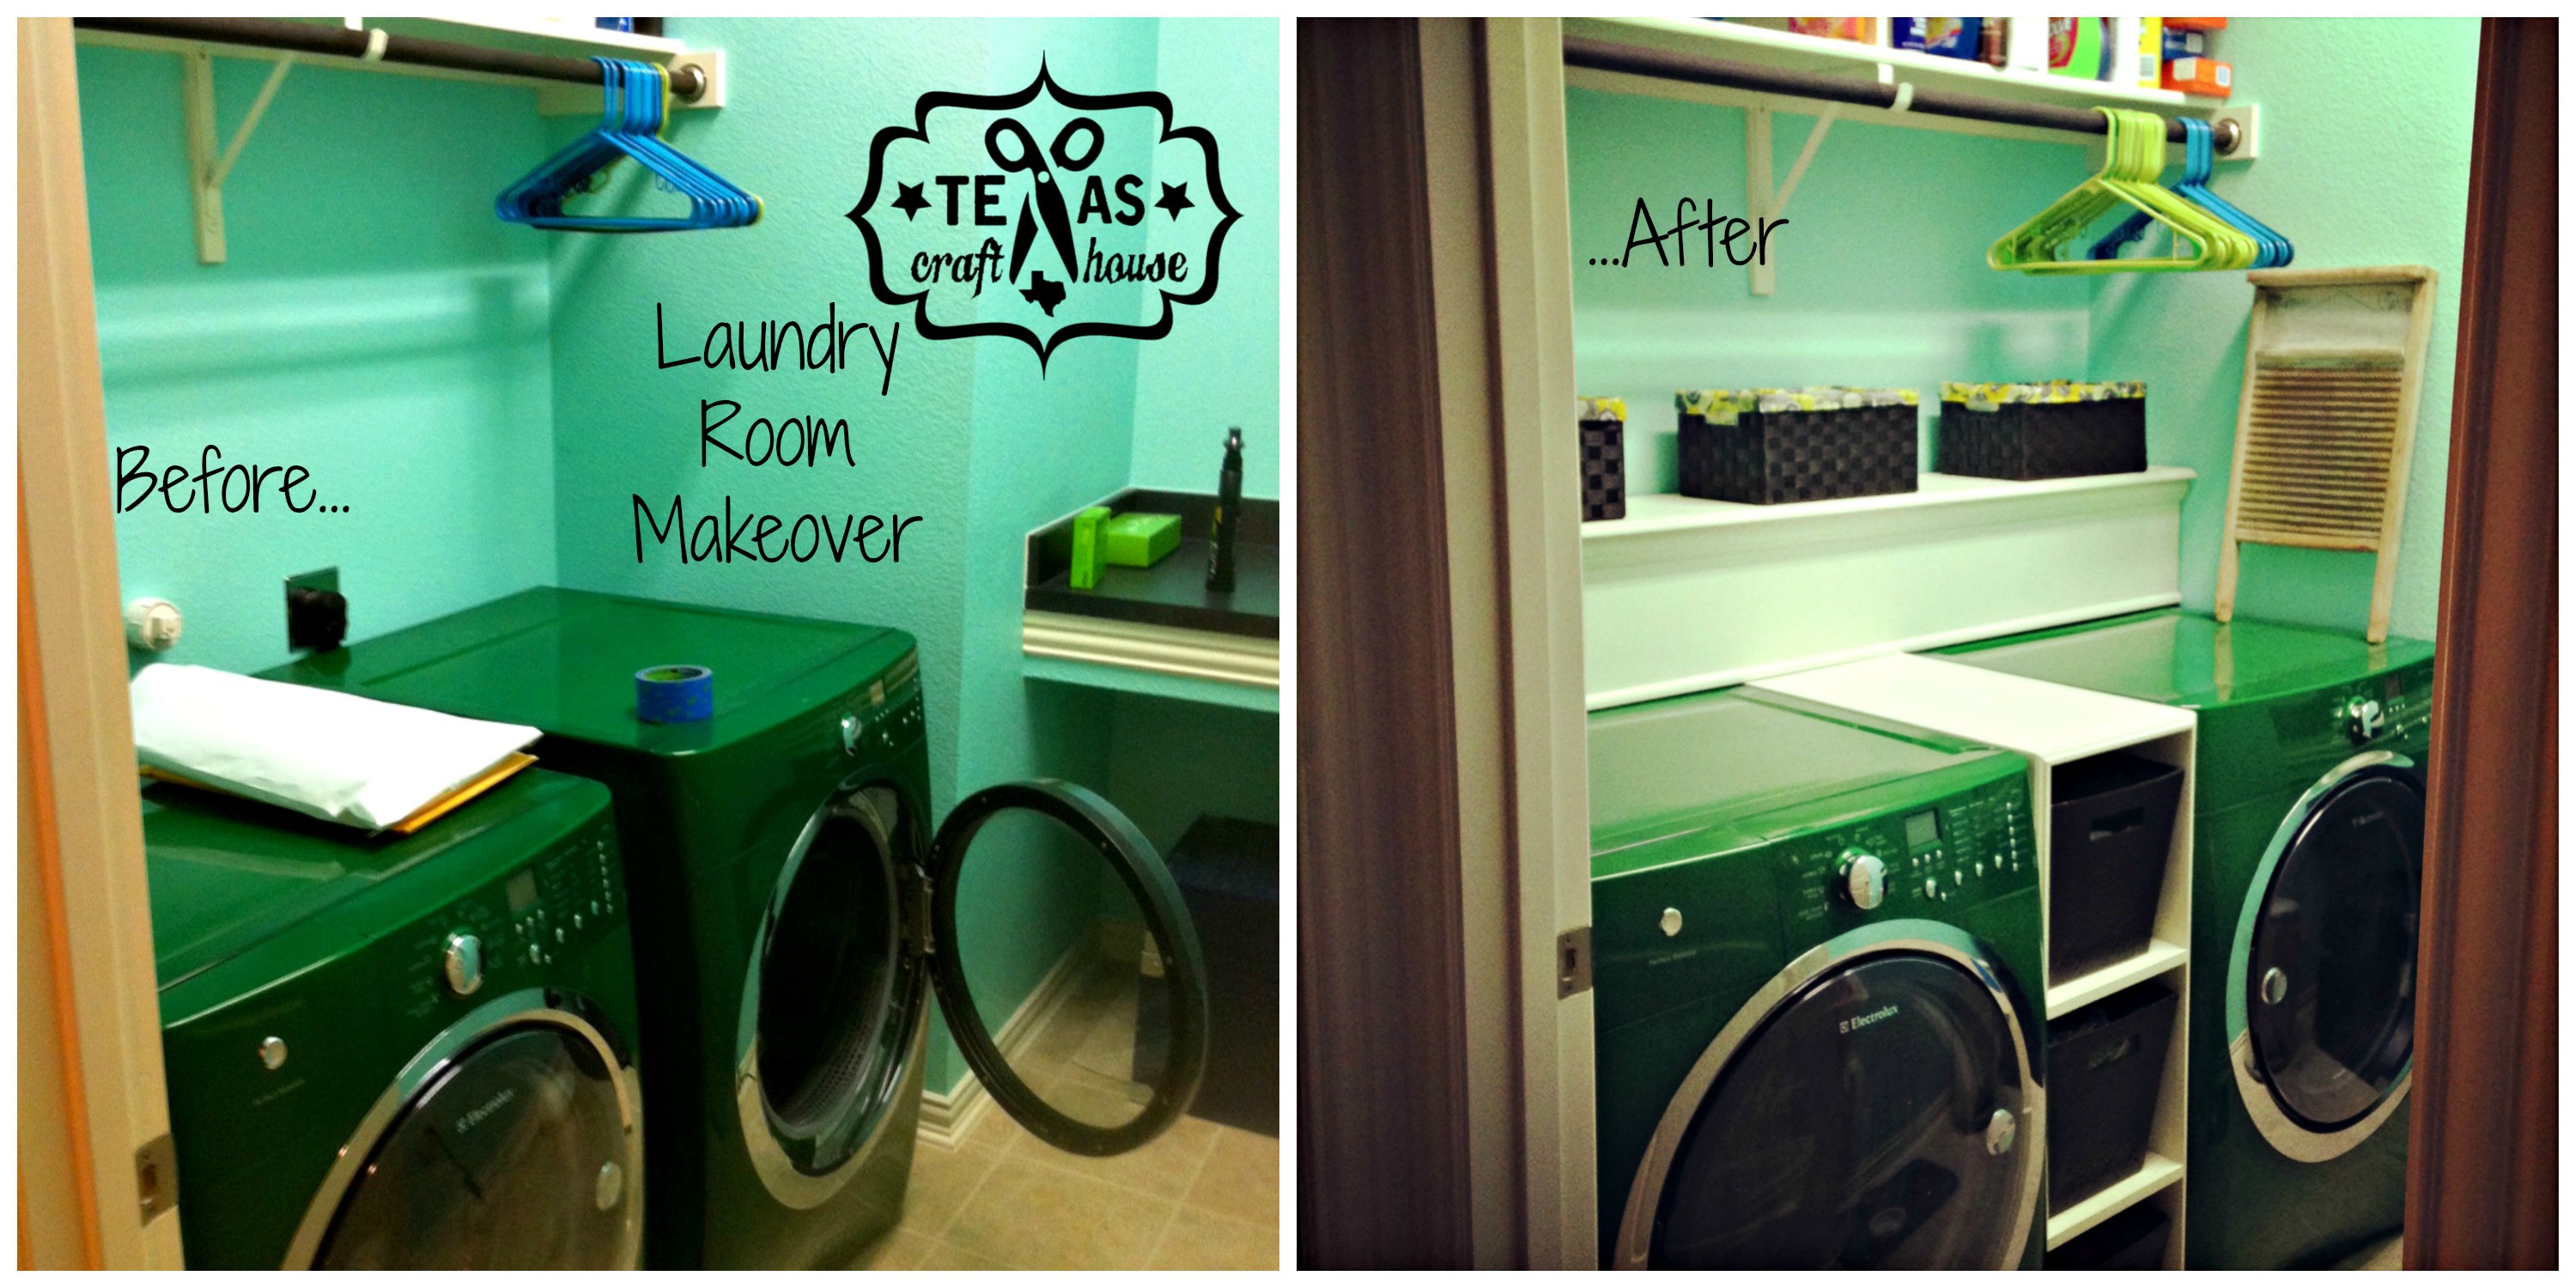
Laundry Room Makeover: Washer and Dryer Storage
My laundry room is getting closer and closer to exactly how I want it to look! When we were building the house, the builder insisted on installing the washer and dryer outlets at pedestal height even though I didn't have a washer and dryer with pedestals. Well I hated it! Lesson learned don't let someone talk you into something you don't need or want. I enlisted my husband and dad's help to make a shelving unit and mantel piece that would cover up the unsightly outlets.  We used 3/4" MDF (medium density fiberboard) from Home Depot for the majority of the supplies (we chose this thickness so that standard wood screws would go in easily) and used some crown moulding to add style to both pieces. First, we made the piece that sits in between the washer and dryer. We measured the space in between the washer and dryer and then measured from the back of the washer to the front of the washer and then from the floor to the top of the washer to get the dimensions. With the plan and measurements, we ran to Home Depot to get the MDF and had the lumber associate cut some of the bigger pieces to size for us. This eliminated a lot of the need for a saw if you don't want to (or can't) deal with the bigger pieces at your house. Once we had those bigger pieces cut at the store, we took them to the house and cut them to the exact sizes we needed. We attached the two sides of the shelving unit to the base using a nail gun and wood glue, then worked our way to the top one shelf at a time. Doing this really made the entire unit sturdy and to style it up a bit we added shoe moulding all the way around the front edge.

For the decorative mantel piece, we measured the entire wall that the washer and dryer backed up to. Then we measured how high the outlets were above the tops of the washer and dryer. For the width, I just wanted something that stood out far enough to store a bottle of laundry detergent and a few decorative baskets. The top mantle piece went together a lot faster and easier than the vertical base part. We took the length measurement on that wall and subtracted about 1/4-1/2" so it would fit nicely between the walls. We cut the front face and the top part from these measurements, and cut square pieces to cap the ends. To support weight along the length of the mantle, we cut three more square pieces (exact same as the end pieces minus about 2" in depth for wall mounting, described later) and nail-gunned them in place at equal distances throughout. For more style I added shoe moulding to the bottom and crown moulding across the top. To patch all the nail-gun holes and screw holes, we used Patch-n-Paint from Home Depot (or from any hardware store) to smooth it out. Once it dried, we color matched both pieces to the trim in our house.

To install the pieces, we first slid the vertical piece between the washer and dryer - it fit perfectly! For the mantel piece, we measured the right height and installed a 2x4 onto the wall by screwing directly into the studs to provide the support. Make sure this is very, very level so you don't have any weird stuff happen when you mount the mantle. Then we placed the mantle piece over the 2x4 so the back edge rested on it and screwed the back of the mantle directly to the 2x4 on the wall. This easy project brightened up my laundry room so much, and I don't have to see those outlets anymore!!  Check out how I got rid of the drywall shelf and installing cabinets to house the litter box here.

